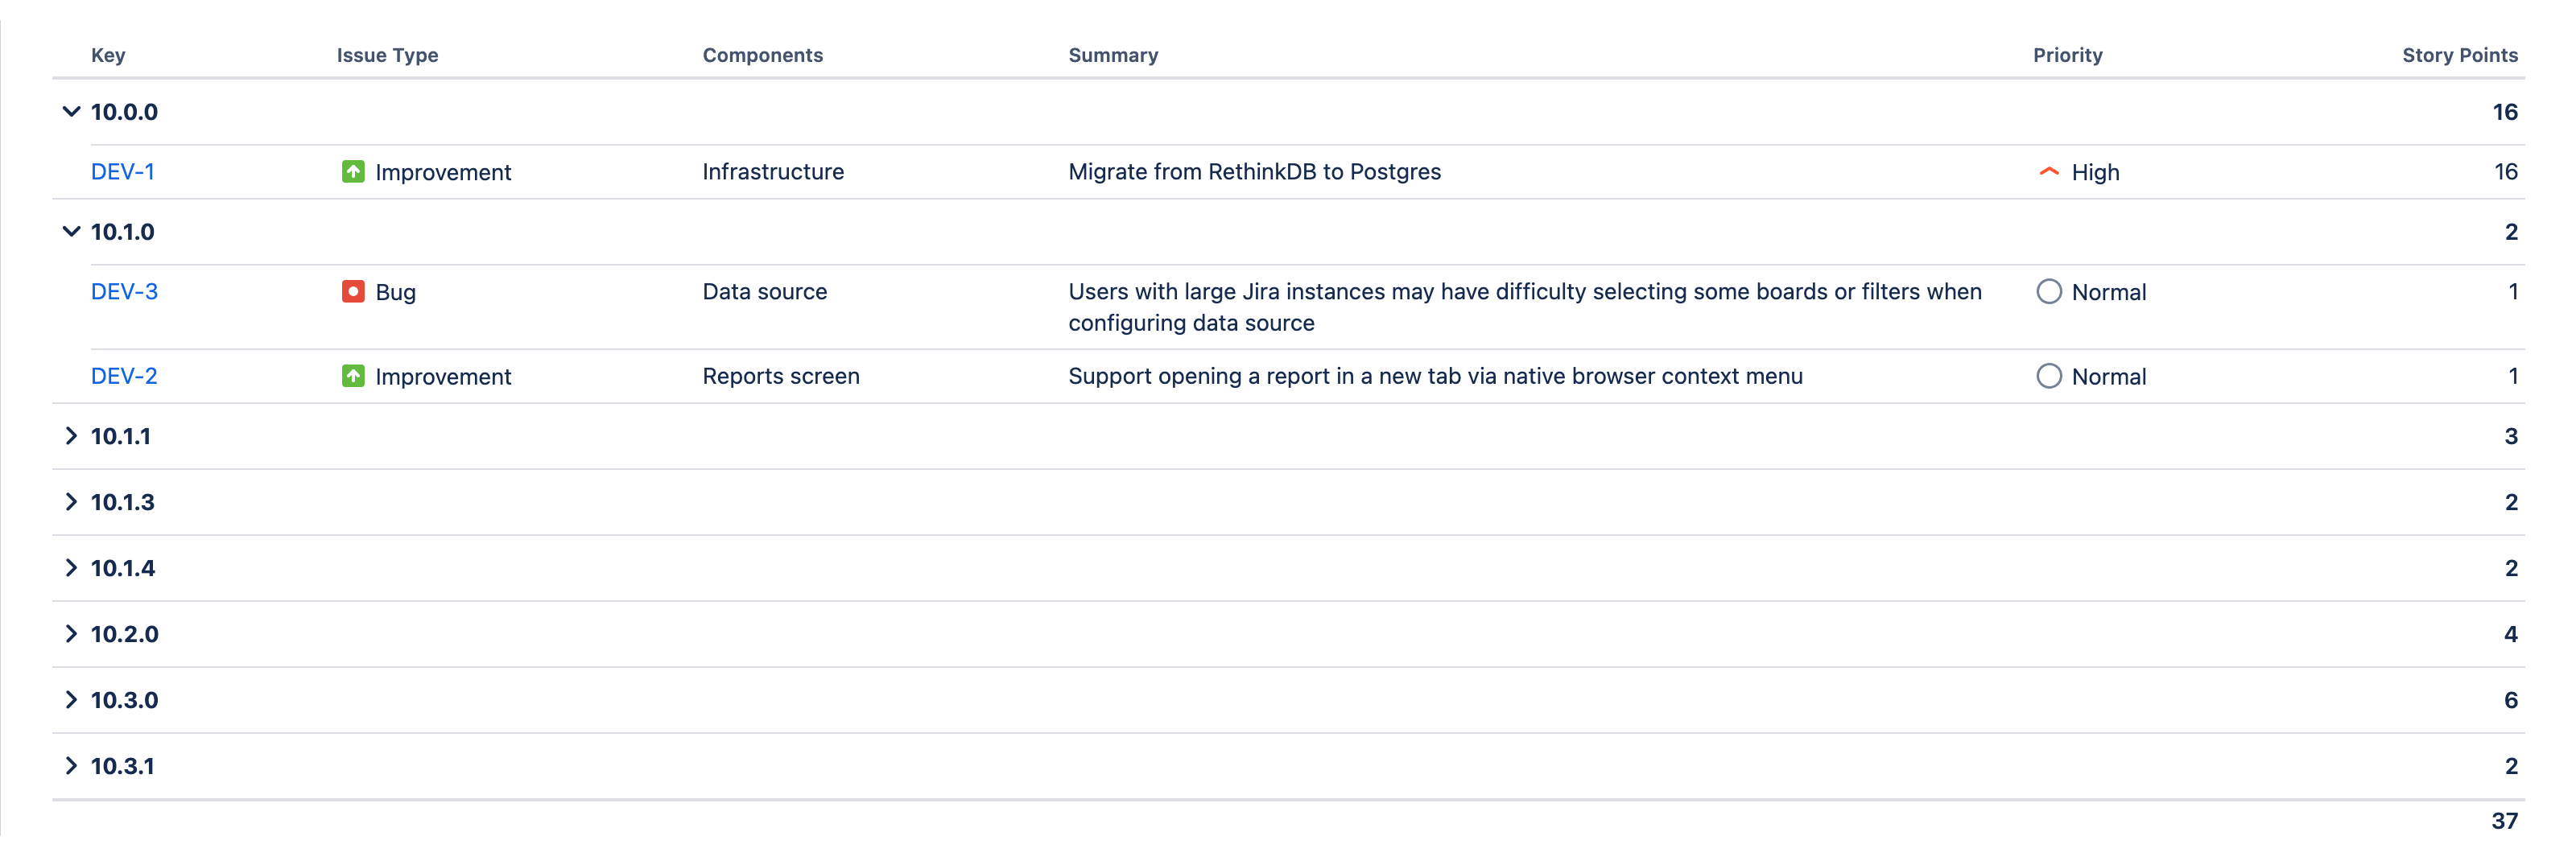
Configuring columns
Columns determine which fields appear in the report, how the field values are formatted and how the field values are aggregated.
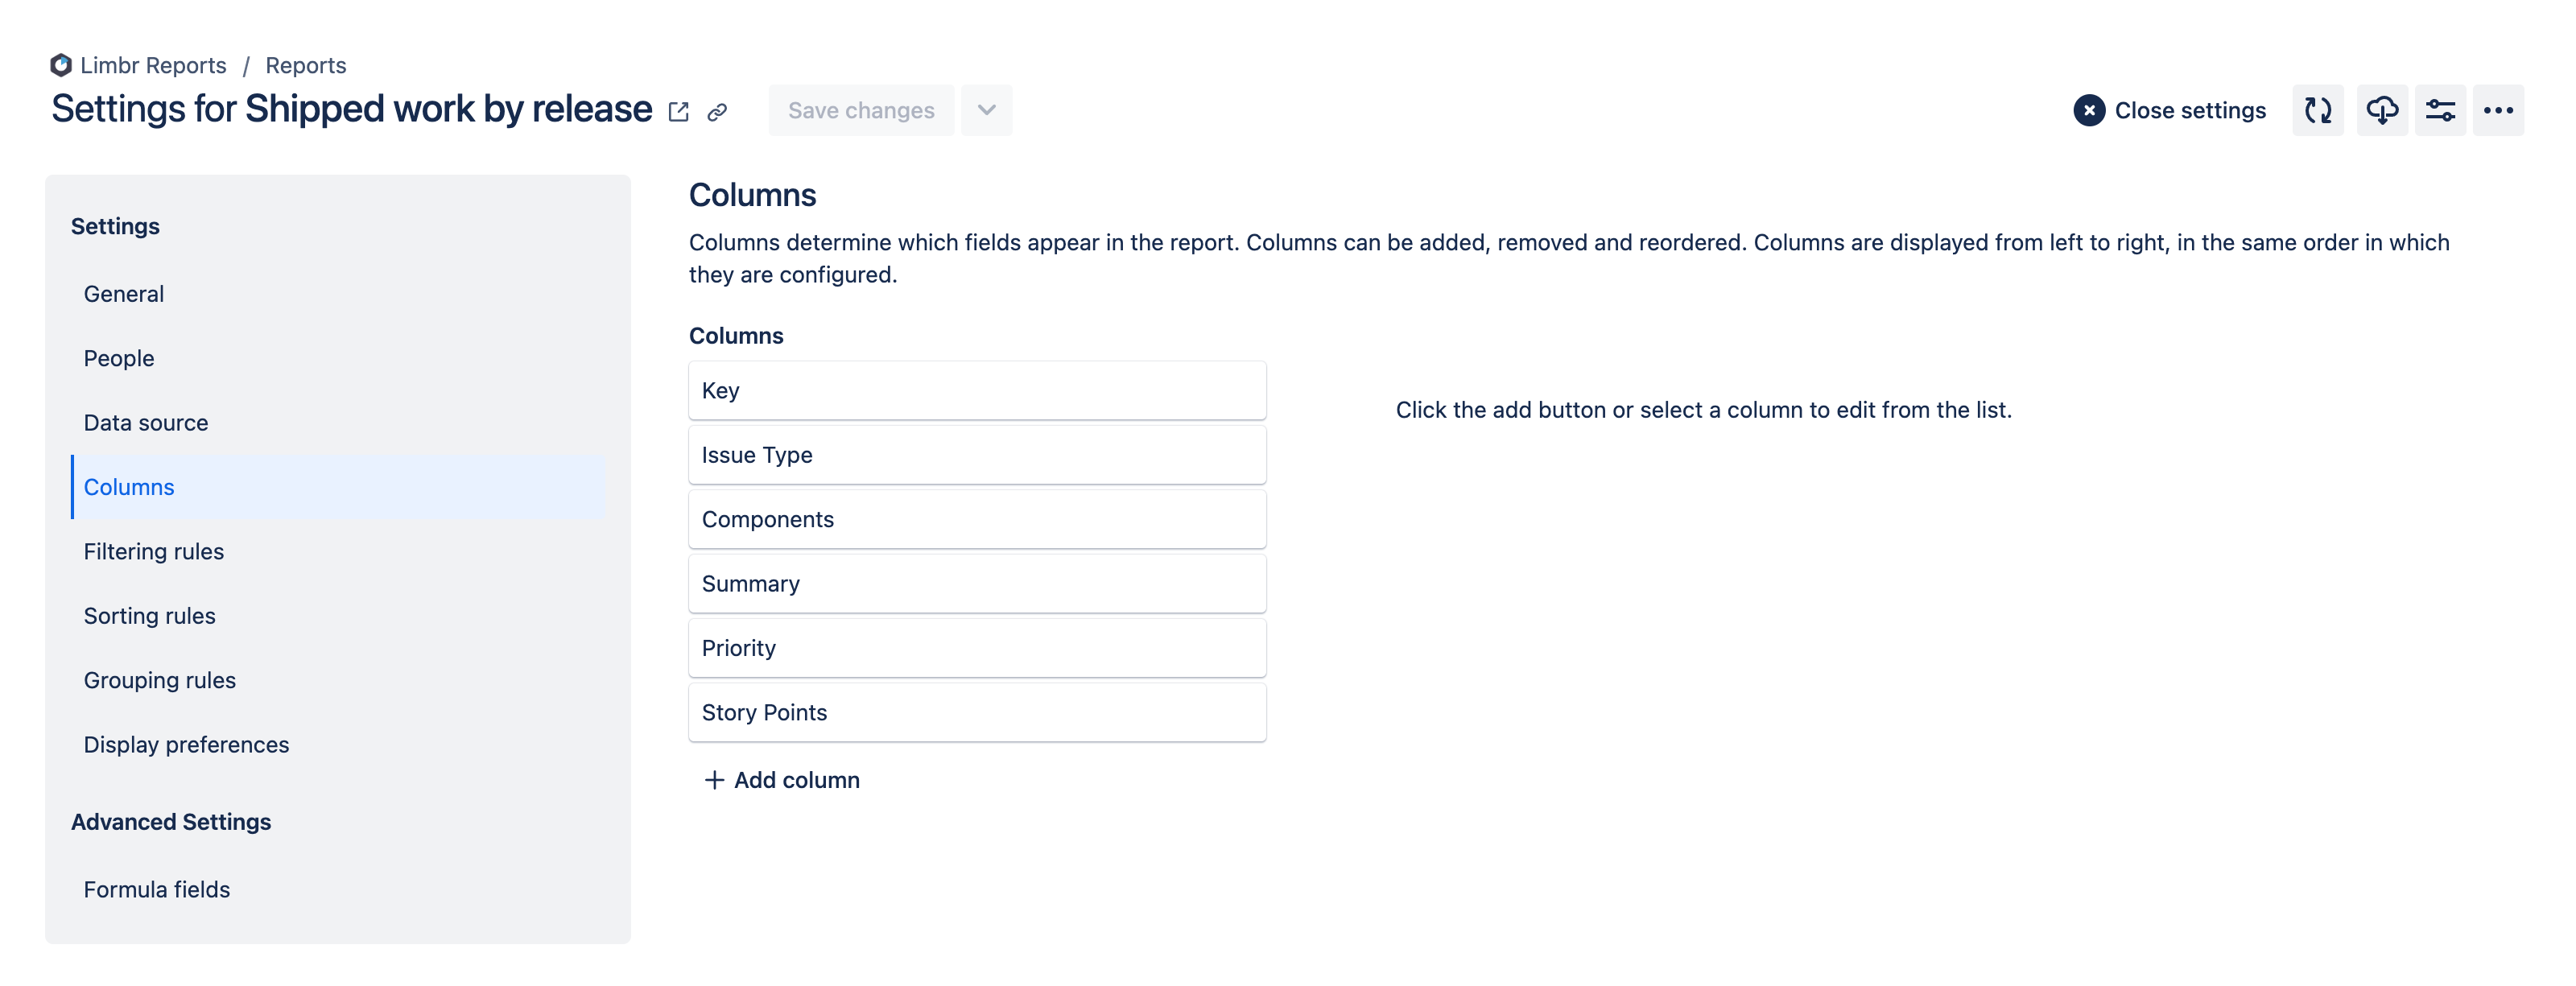
The columns tab is divided into two sections:
- The section on the left displays a list of the columns that are currently configured.
- The section on the right displays the settings for the column that is being added or edited.
Adding a column
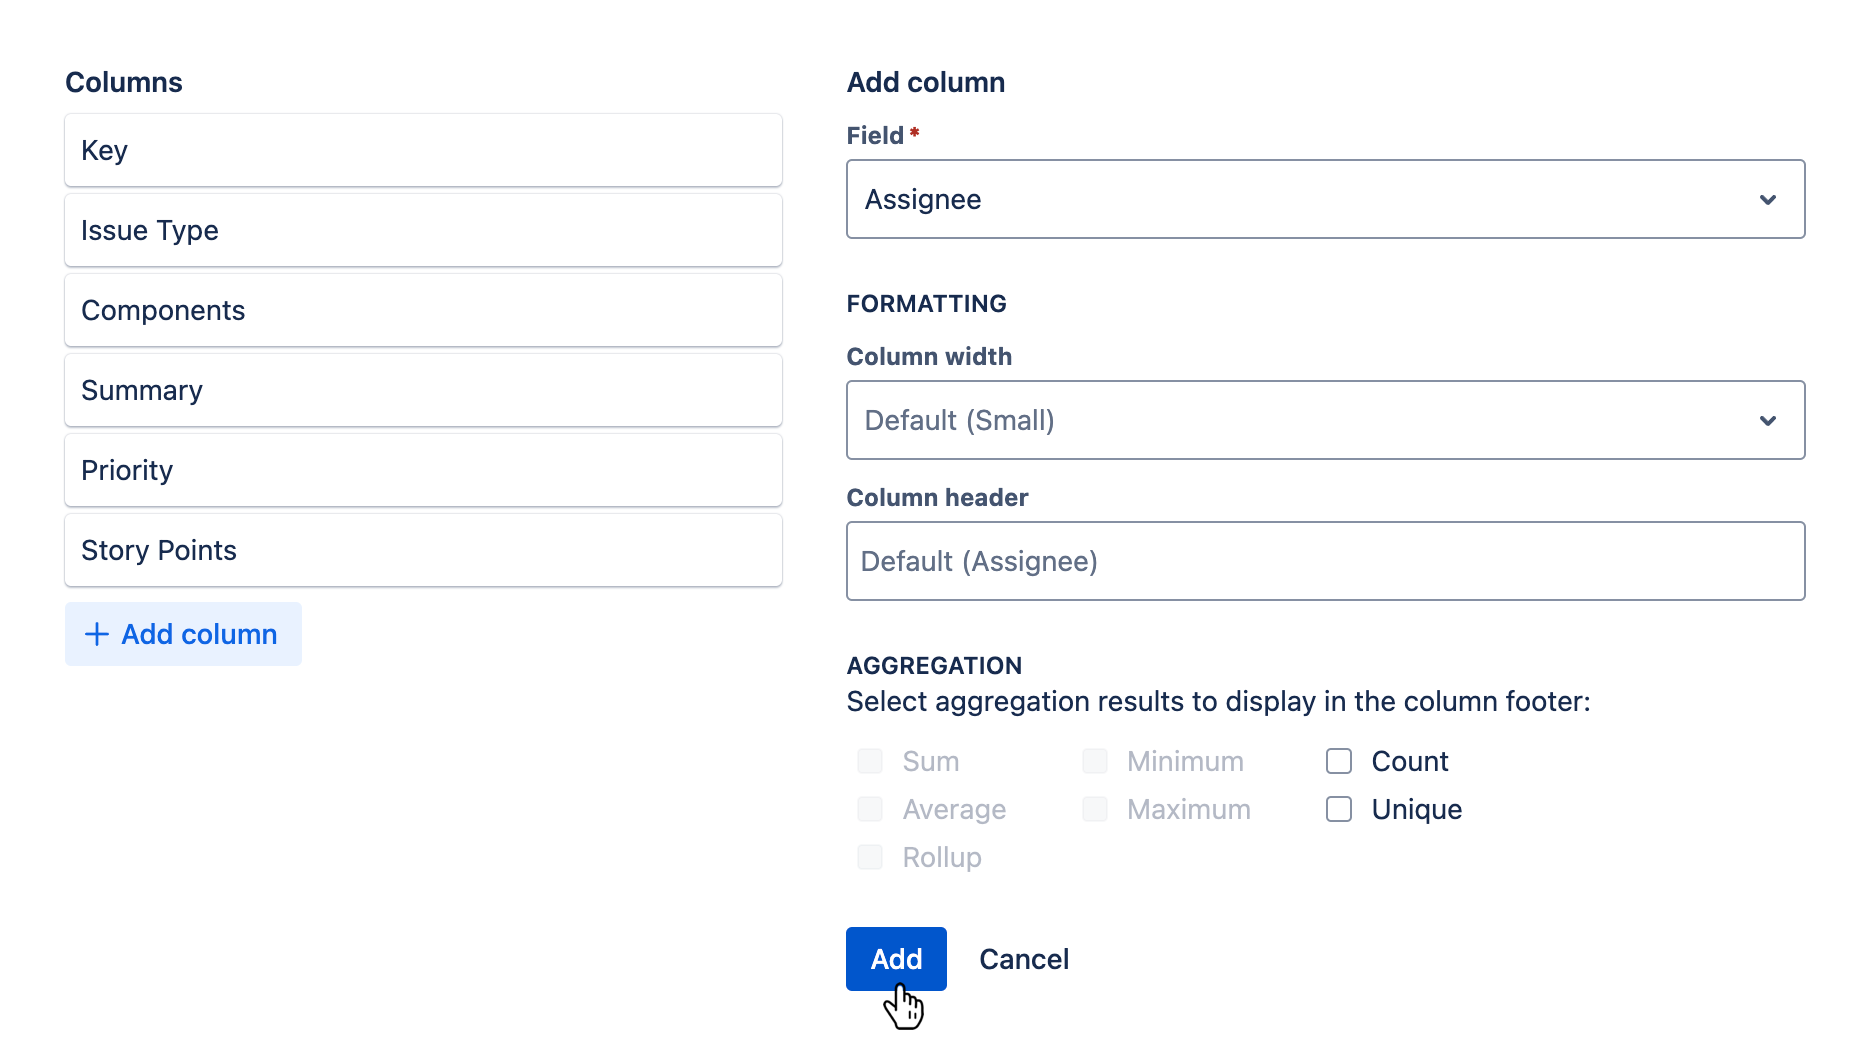
To add a new column, click the Add column button at the bottom of the list of columns on the left.
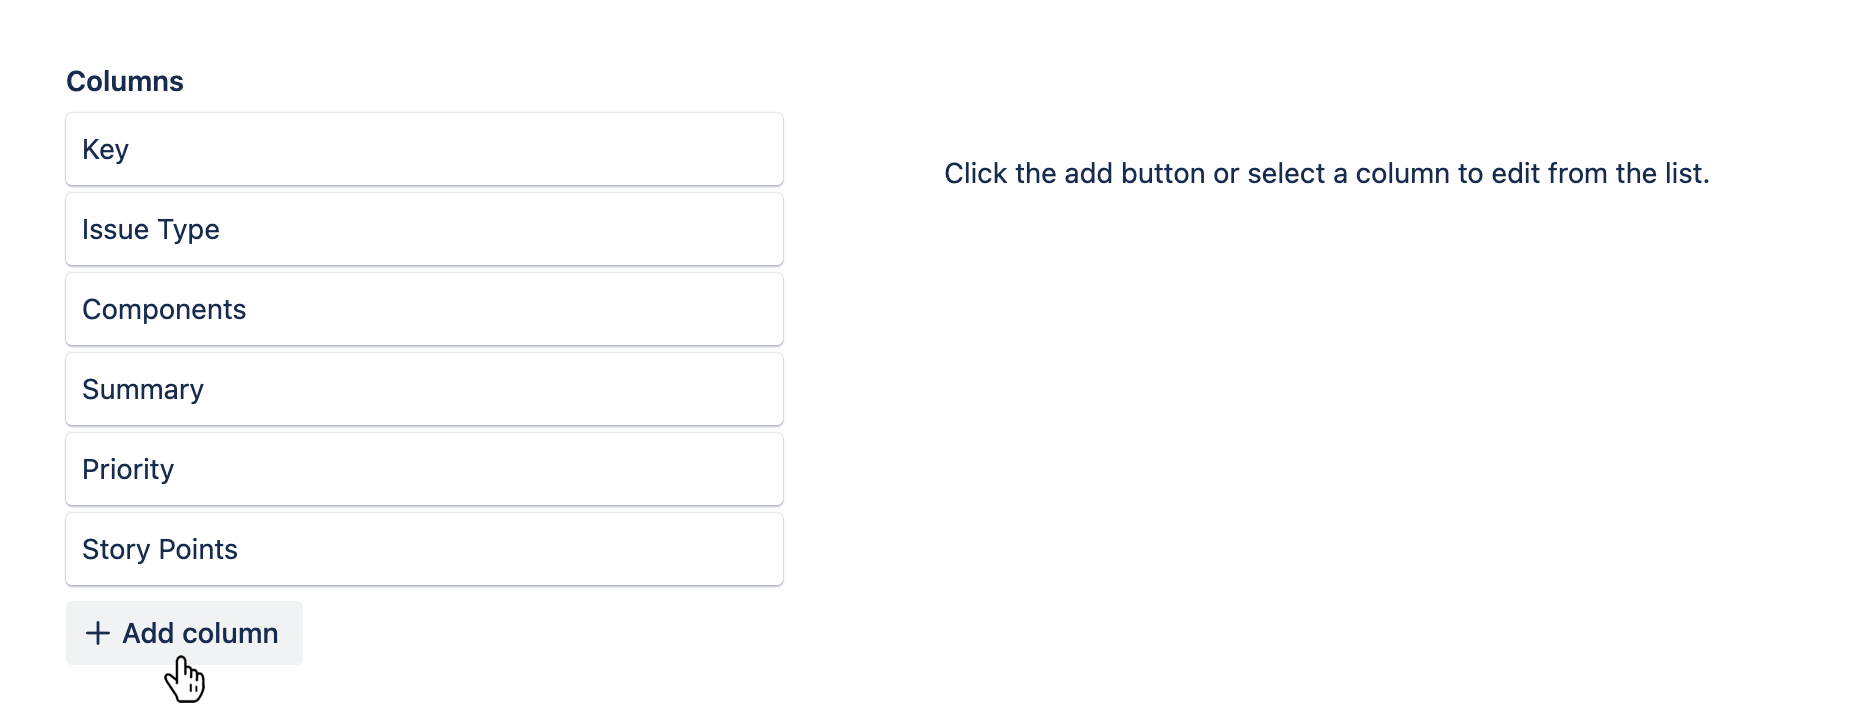
The settings for the new column will be displayed on the right.
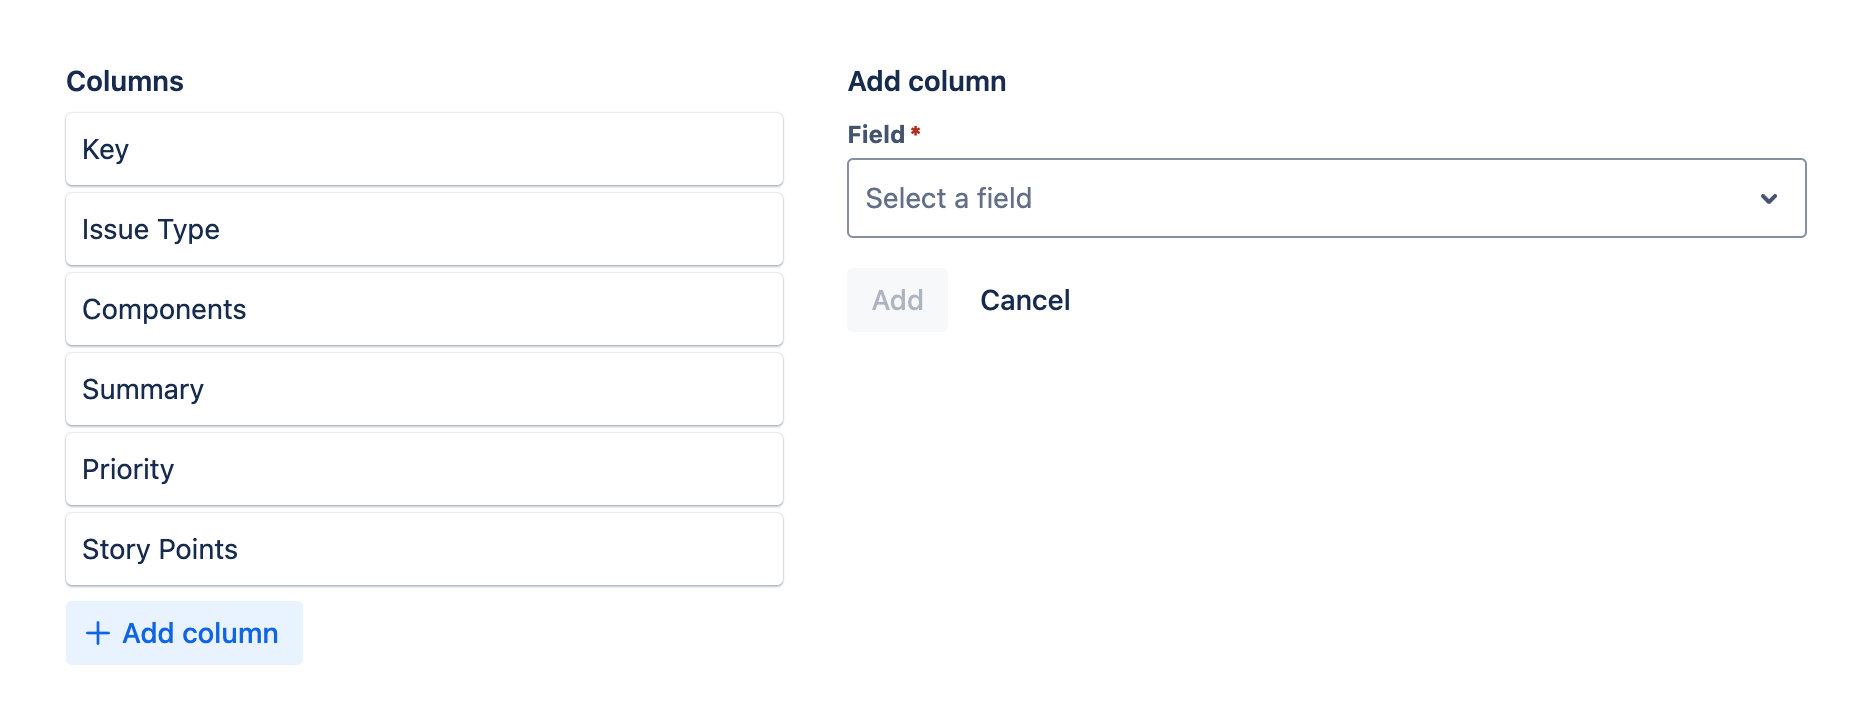
See configuring column settings for more information on the settings available when adding a column. When you have finished configuring the column, click the Add button to add it to the report. If you decide not to add the column, click the Cancel button instead.
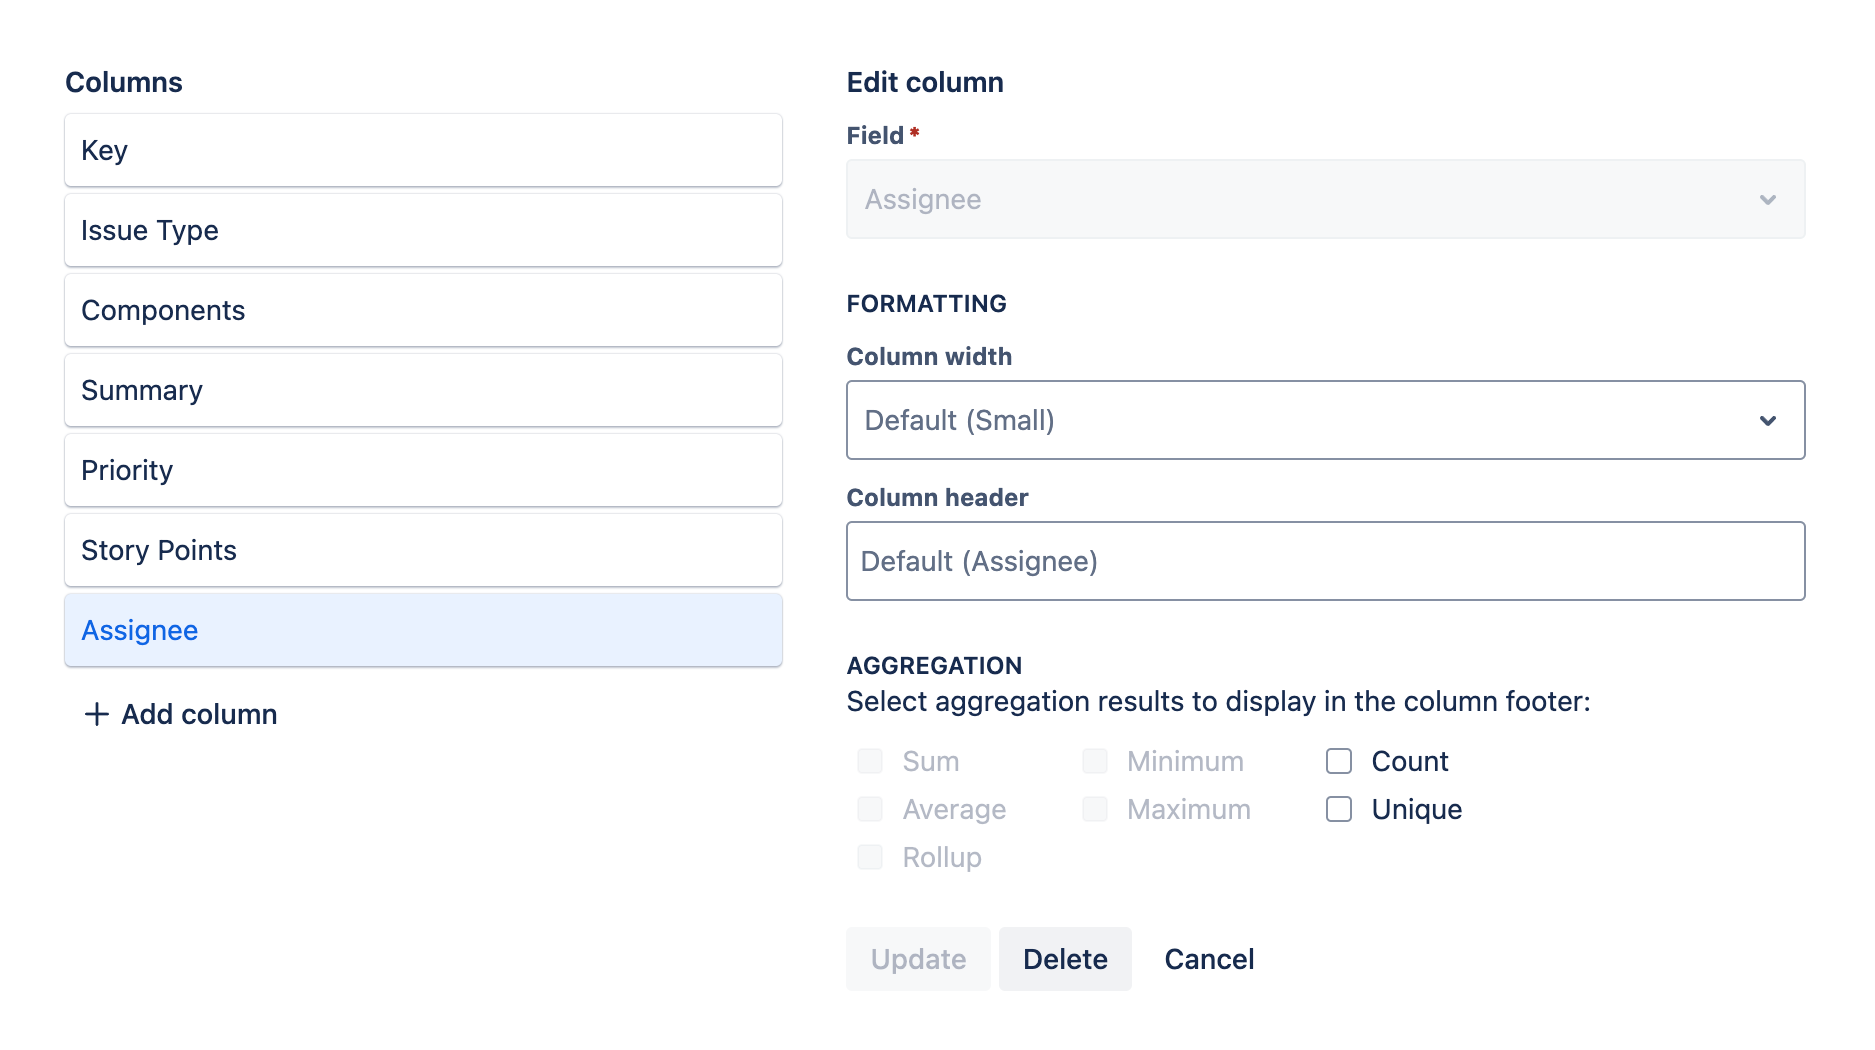
The new column's card will be displayed at the bottom of the list of columns on the left, and the new column's settings will remain displayed on the right for further editing.
Editing a column
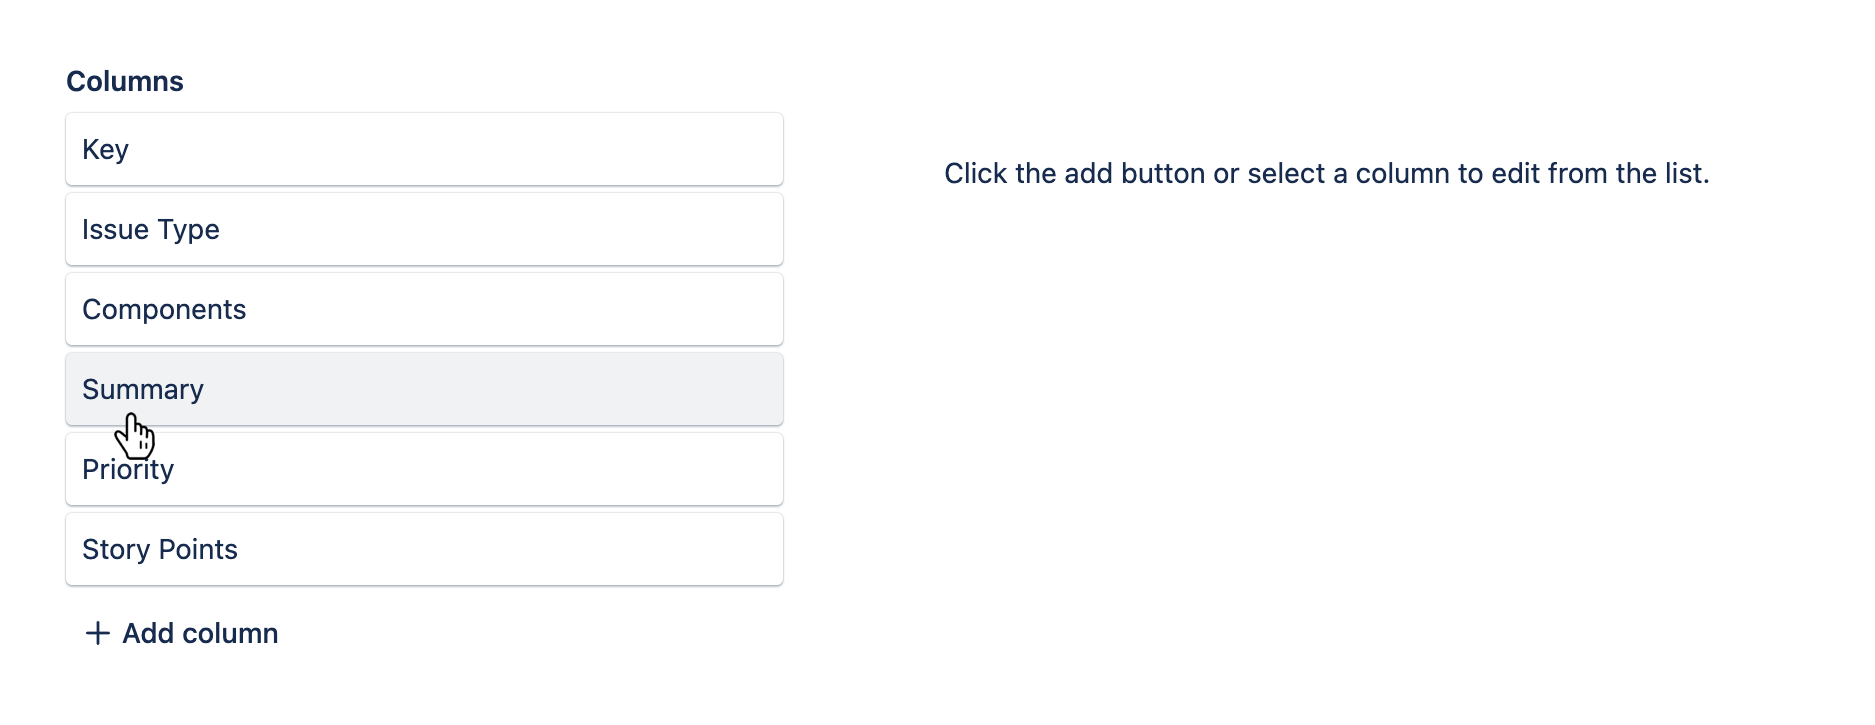
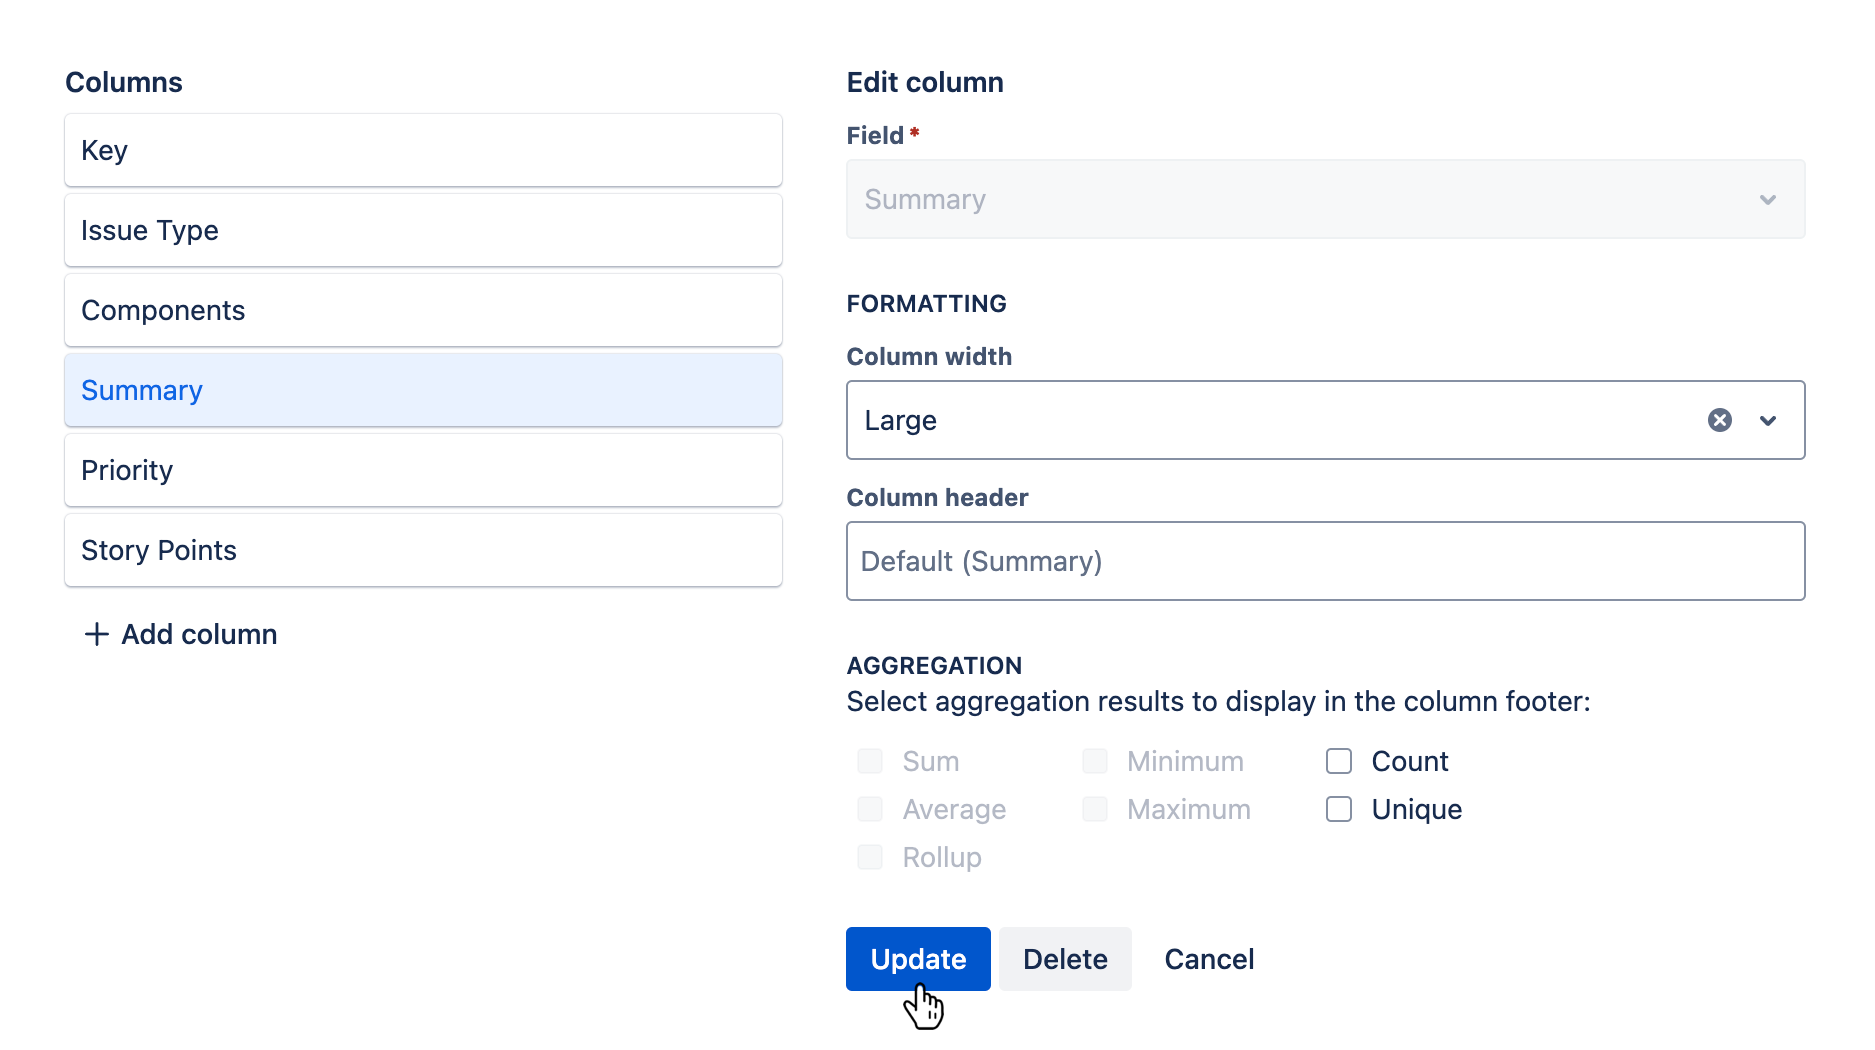
To edit an existing column, click on the column's card in the list on the left.
The settings for the selected column will be displayed on the right.
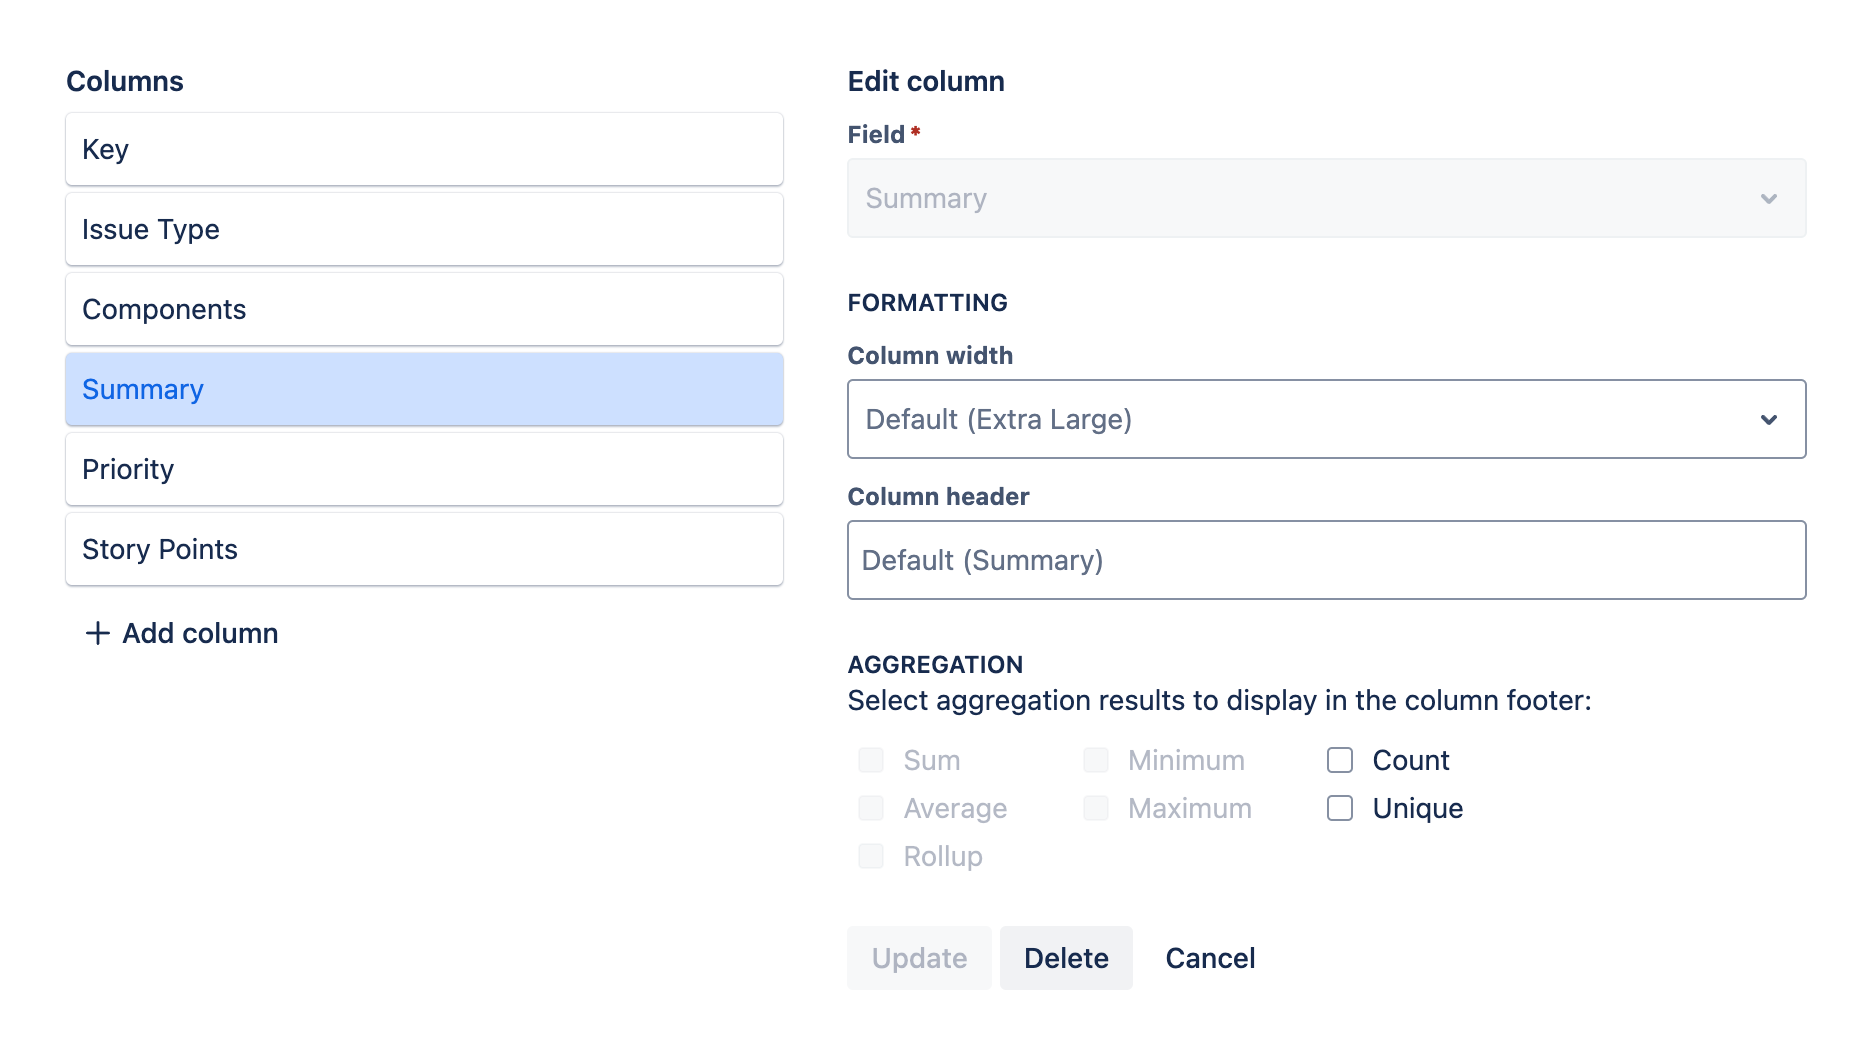
See configuring column settings for more information on the settings available when editing a column. When you have finished configuring the column, click the Update button to apply your changes. If you decide not to apply your changes, click the Cancel button instead.
Removing a column
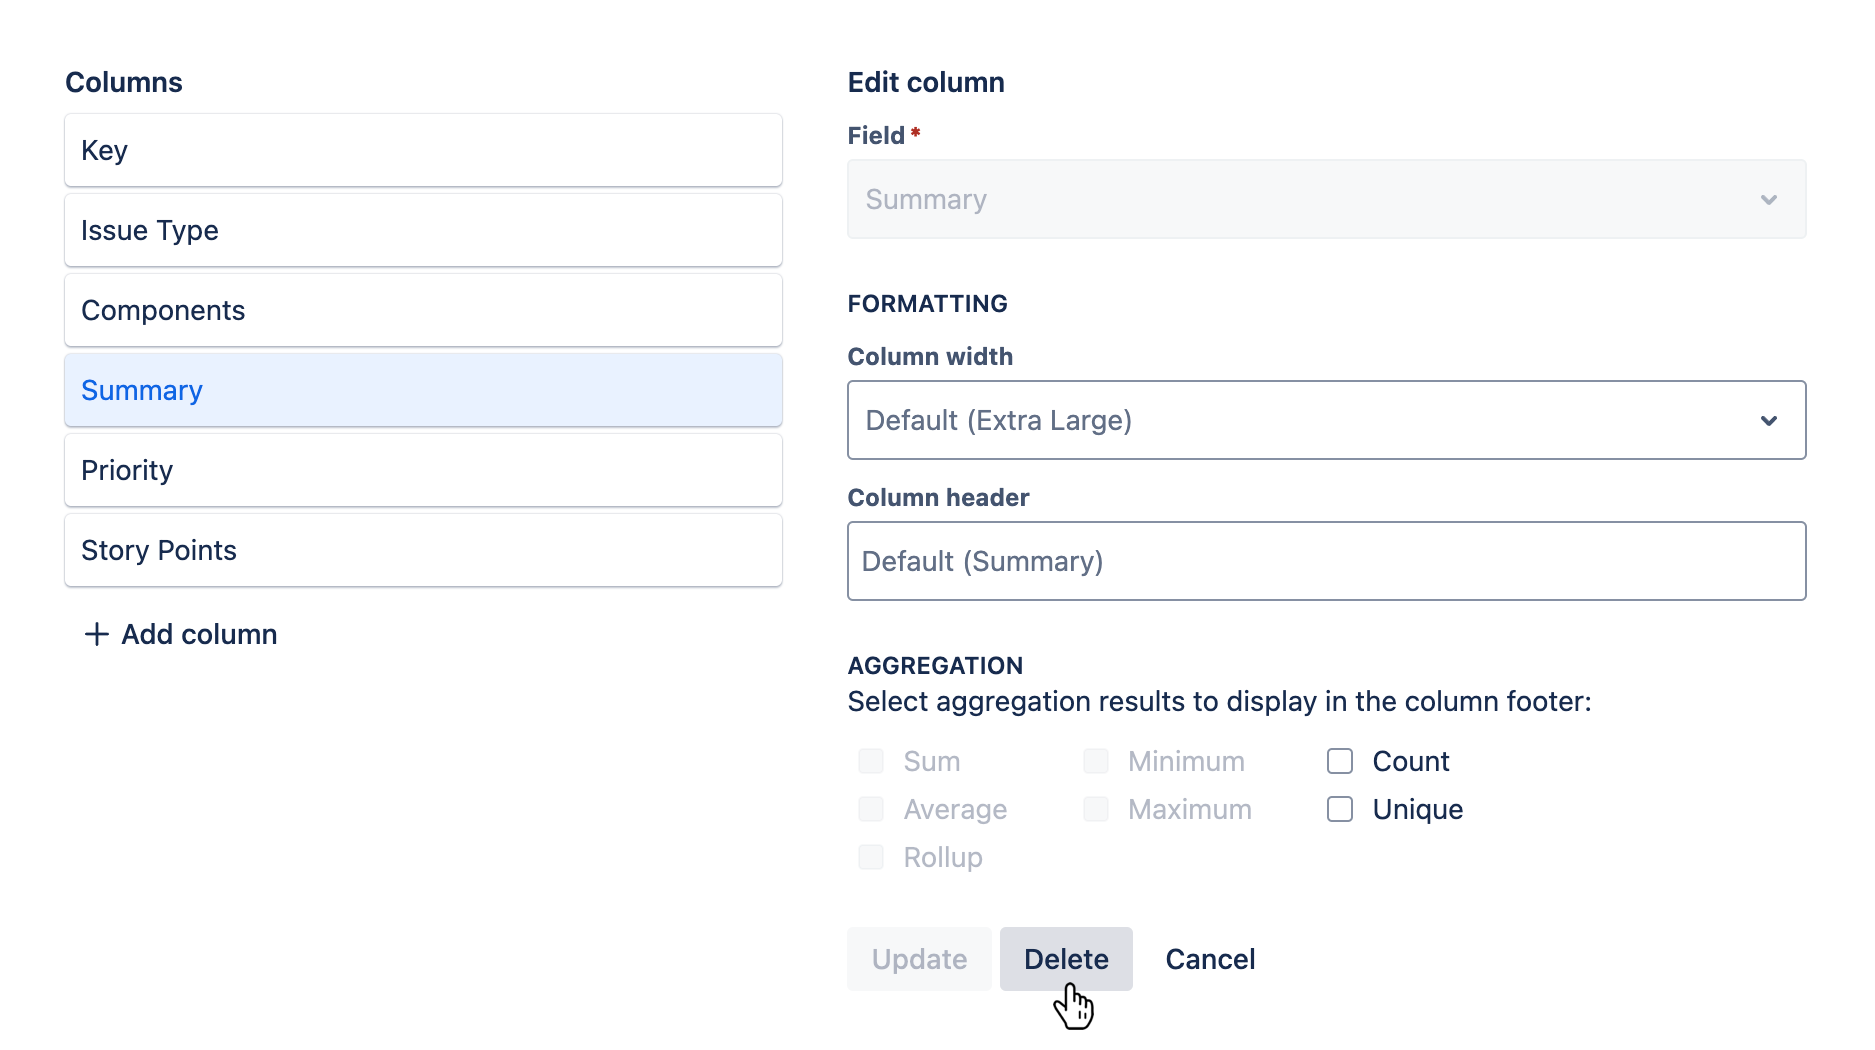
To remove an existing column, click on the column's card in the list on the left.

The settings for the selected column will be displayed on the right.

Click the Delete button to remove the column. If you decide not to remove the column, click the Cancel button instead.
Reordering columns
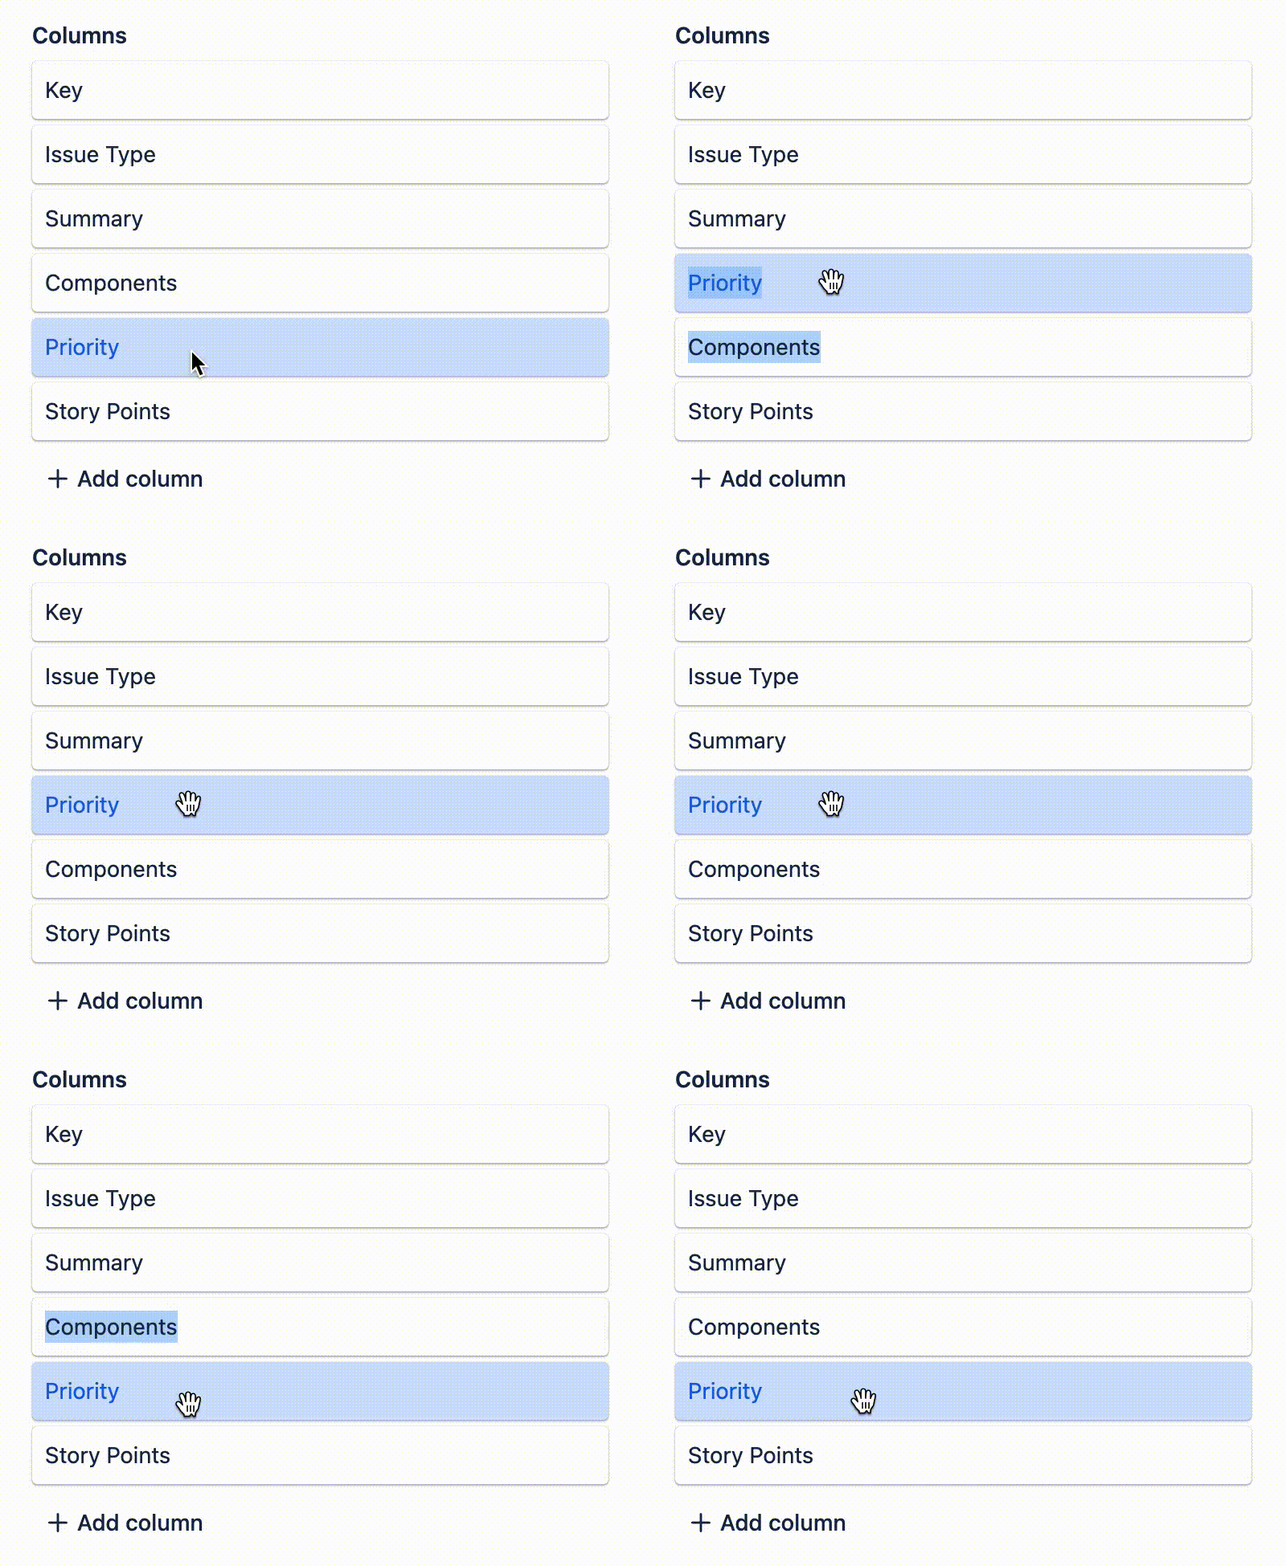
Columns are displayed in the report from left to right, in the same order in which the column cards are displayed in the list on the left. To change the position of a column, click on the column's card and drag it up or down into the desired position.
Configuring column settings
Each column specifies a field to display, plus formatting options and aggregation methods.
Field
Field is a required field that specifies the report field that will be displayed in the column. All available fields are displayed in the dropdown menu. Browse the list until you find the field you want, or start typing the field name into the input to search for it. Then, click the field name in the dropdown menu to select it.
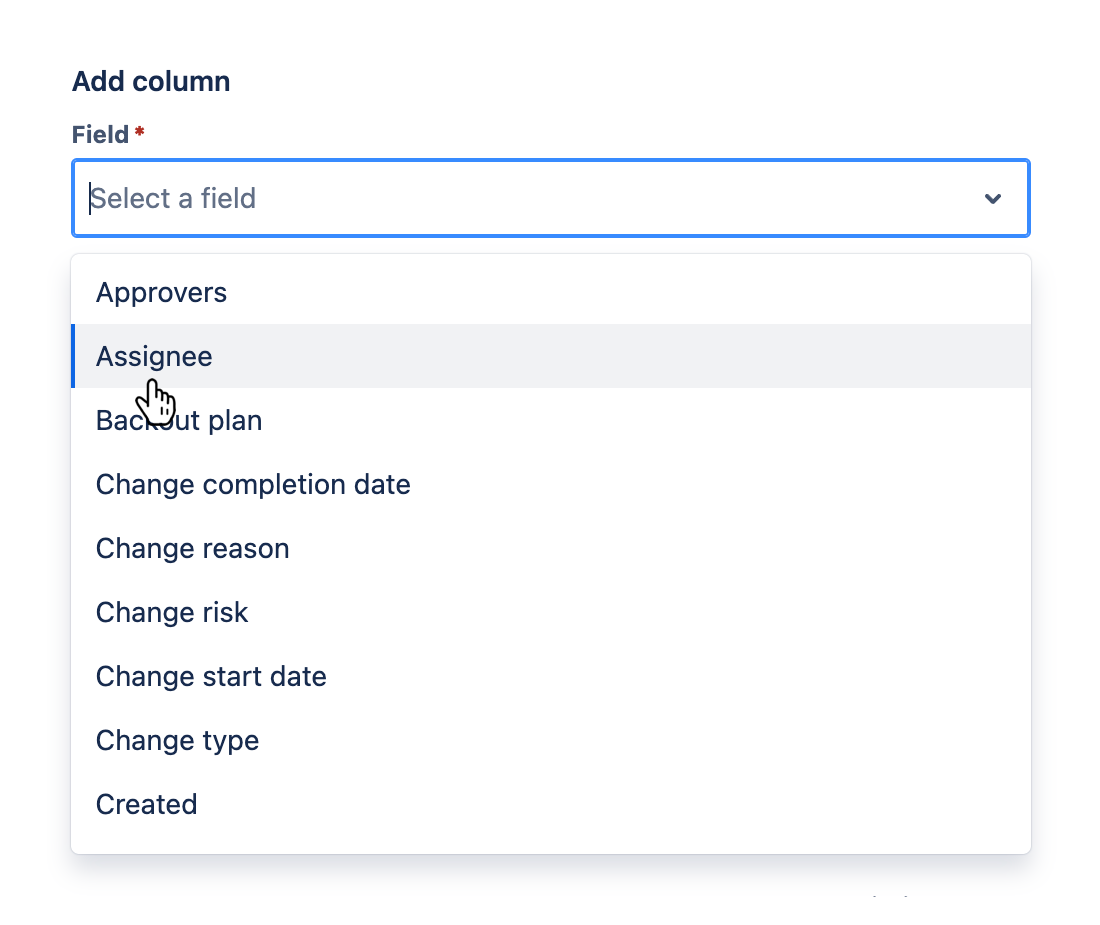
Once you have added a column, you can't change the selected field by editing the column later. To use a different field for an existing column, you must remove the column and add a new column with the desired field.
See the fields reference for a list of supported fields.
Formatting
Once you have selected a field, the available formatting options are displayed in the Formatting section. Some formatting options are available for all fields, while others are only available for some fields.
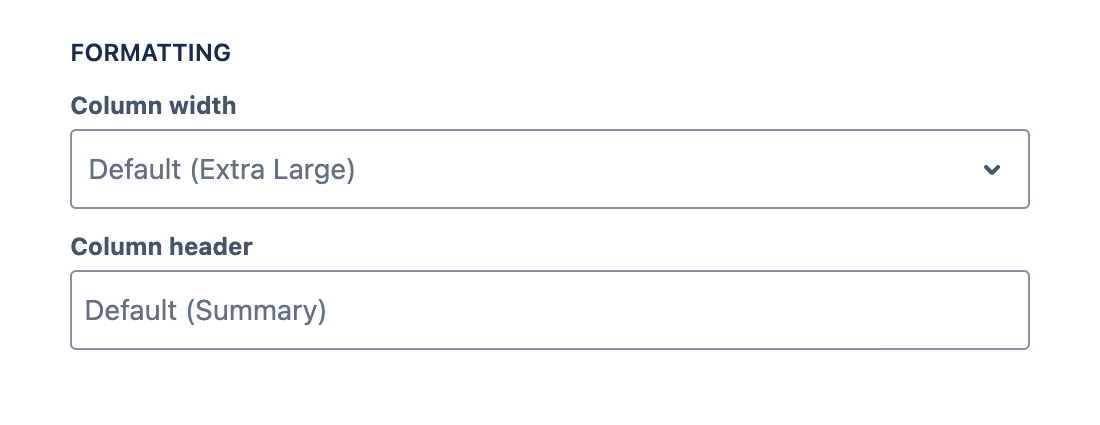
Column width
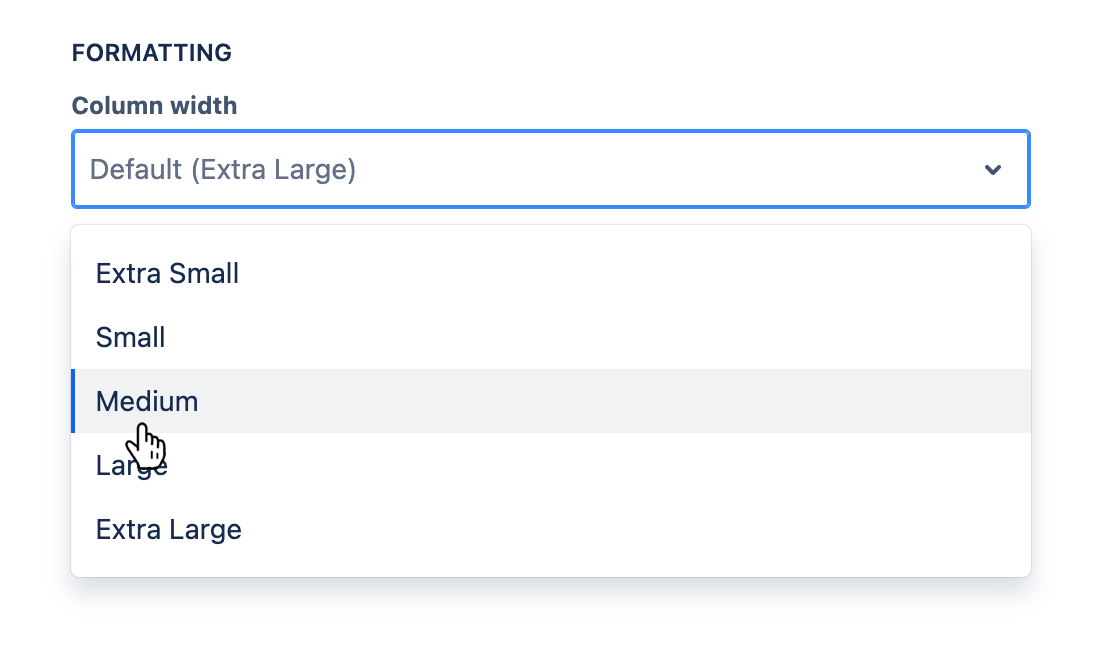
The Column width option is available for all fields. It determines how much horizontal space the column will occupy. Each field has a default column width based on the field's data type, but you can customize the width to better suit your report design by selecting a different width from the dropdown menu.
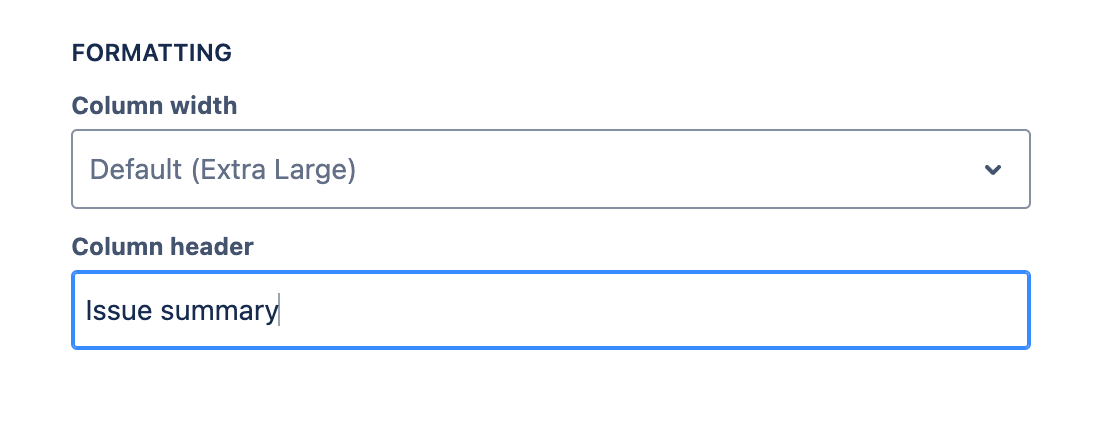
Column header
The Column header option is available for all fields. It determines the text that will be displayed in the column header. By default, the column header matches the field name, but you can customize the header to better suit your report design by typing different text into the input.
Data format
The Data format option is available for some fields. It allows you to customize how the field values are displayed in the column. The available data formats depend on the field's data type.
Number fields
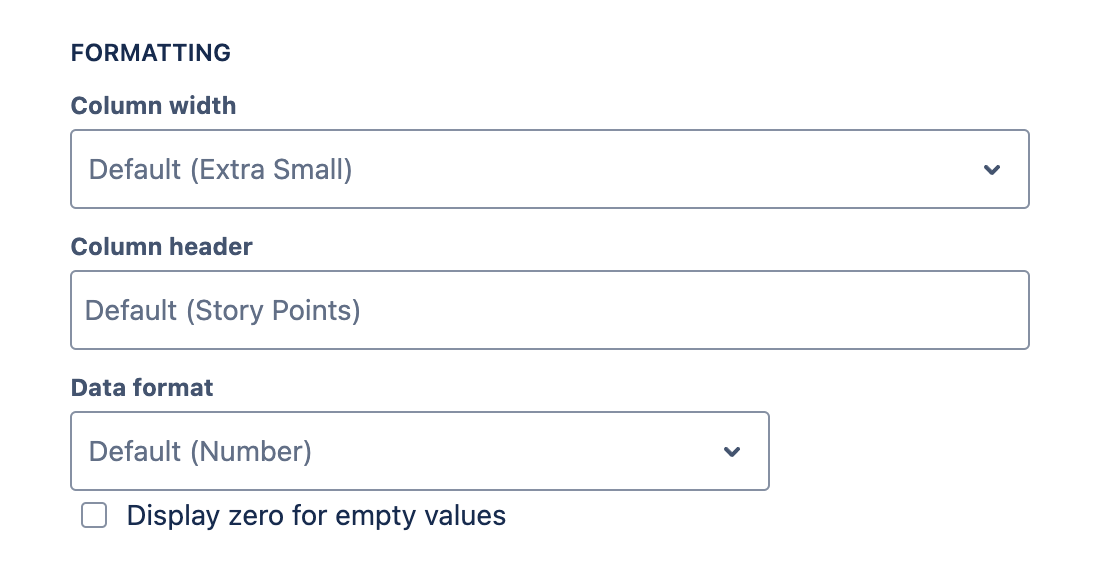
For number fields, you can change the data format to one of the following options:
- Number (default): e.g. "1,000"
- Currency: e.g. "$1,000.00"
- Duration: e.g. "1.25h"
- Percentage: e.g. "100.00%"
You can also decide how to handle empty field values: empty values display nothing by default, but you can override this to display zero instead.
Date/time fields
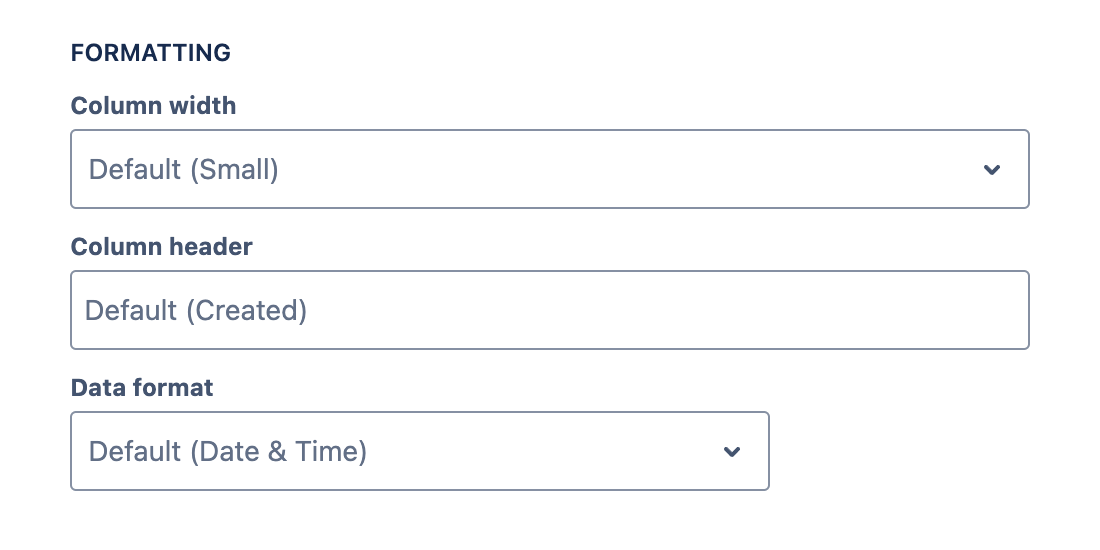
For date/time fields, you can change the data format to one of the following options:
- Date & Time (default): e.g. "November 19, 2024, 1:17 pm"
- Date: e.g. "November 19, 2024"
- Time: e.g. "1:17 pm"
Date fields
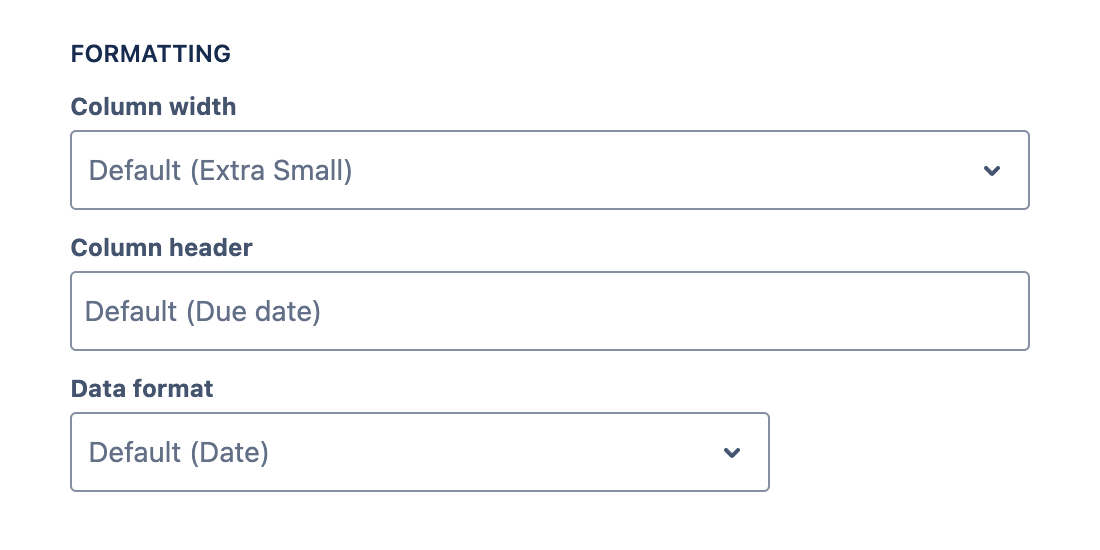
For date fields, you can change the data format to one of the following options:
- Date (default): e.g. "November 19, 2024"
Aggregation
Once you have selected a field, the available aggregation methods are displayed in the Aggregation section. These settings determine how the field values are aggregated in the column.

Available aggregation methods
The available aggregation methods depend on the selected field's type.
The following aggregation methods are available for all fields:
- The Count method counts the number of non-empty field values in the column.
- The Unique method counts the number of unique non-empty field values in the column.
The following additional aggregation methods are available for some fields:
- The Sum method calculates the sum of all field values in the column.
- The Average method calculates the mean of all non-empty field values in the column.
- The Minimum method finds the smallest non-empty field value in the column.
- The Maximum method finds the largest non-empty field value in the column.
The following additional aggregation methods are available only for formula fields:
- The Rollup method calculates the result of the rollup expression defined in the formula field's configuration.
See the fields reference for a list of supported fields and their supported aggregation methods.
Display of aggregation values
If one or more aggregation methods is enabled for a column, the resulting aggregation values will be displayed in the column footer.
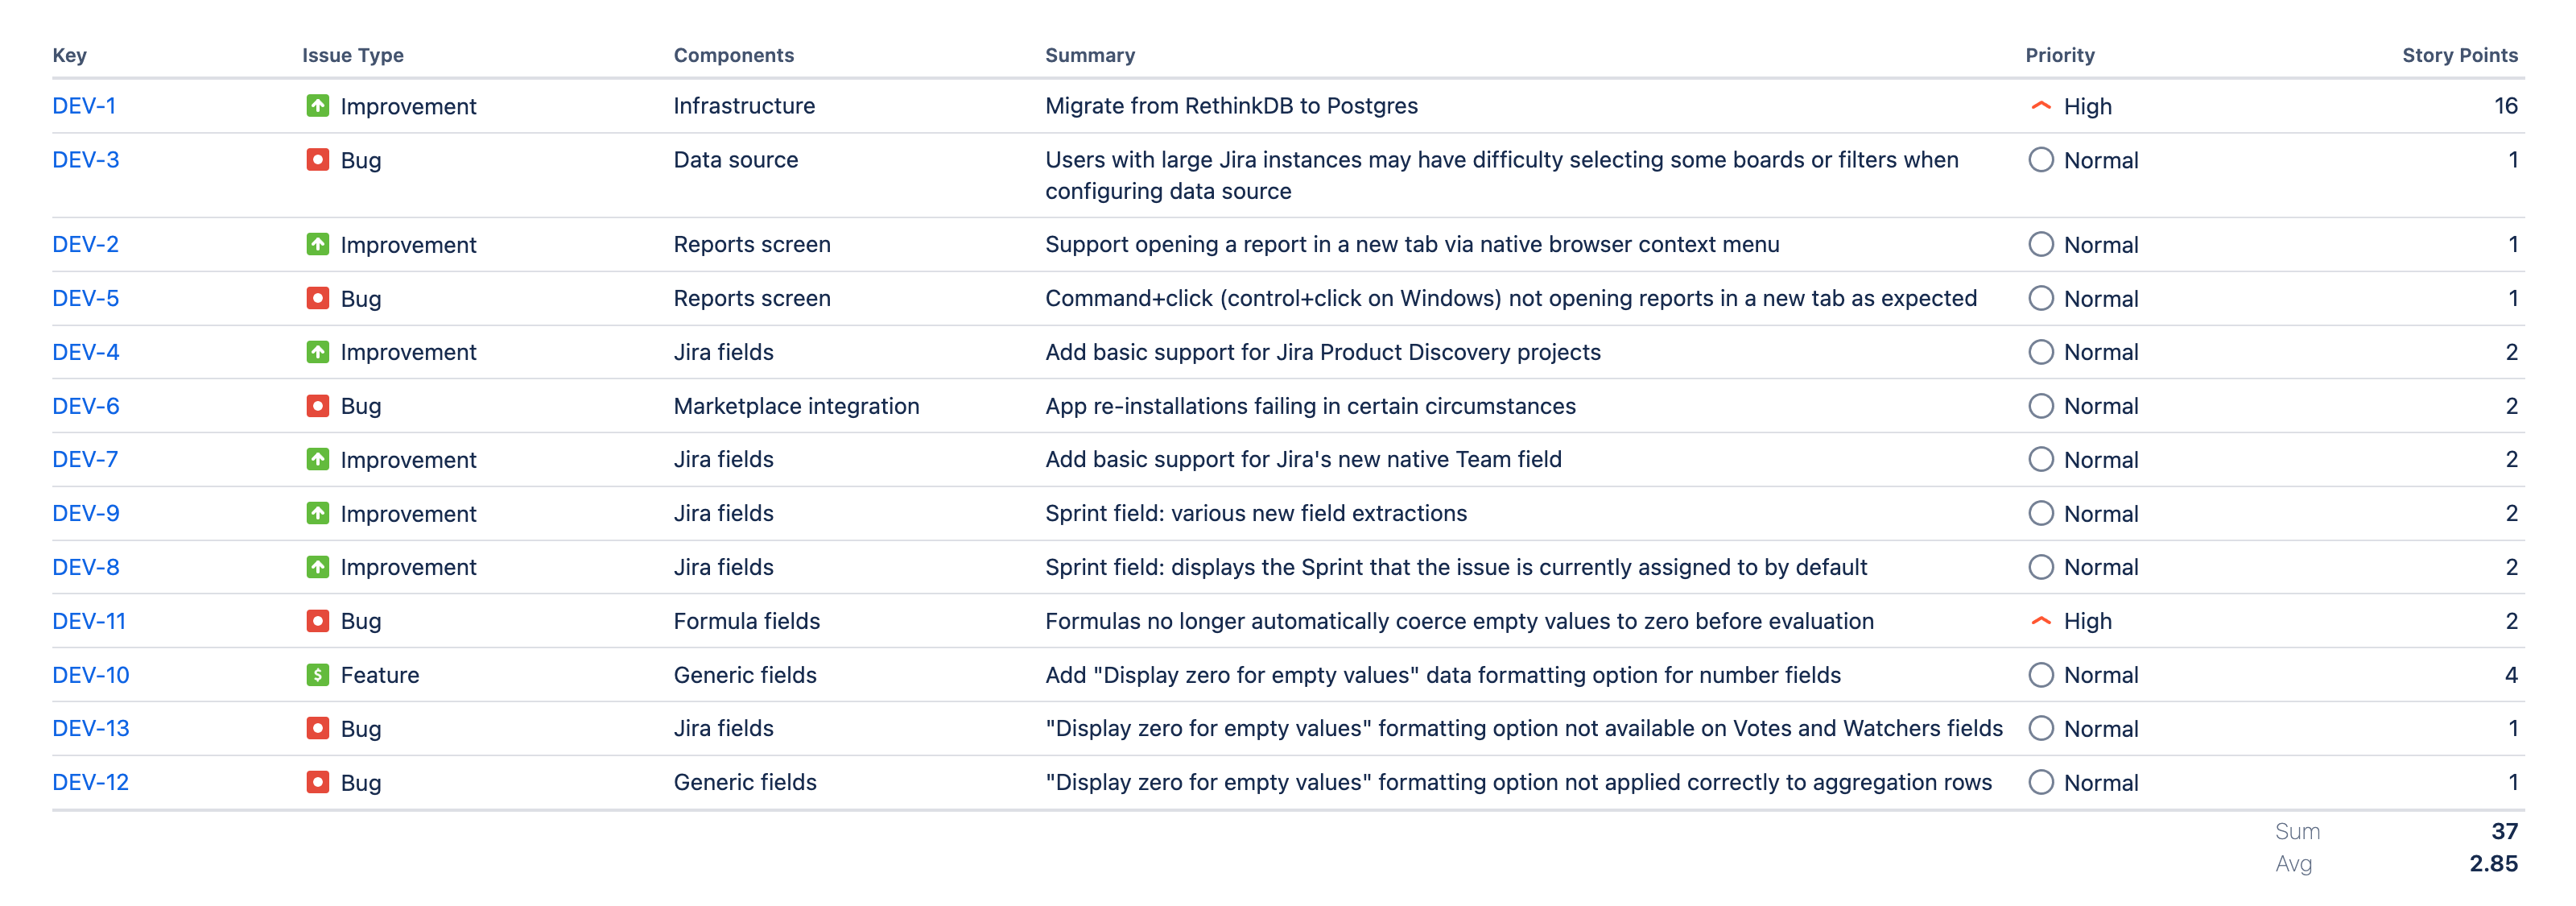
If only one aggregation method is enabled, the aggregation value will not be labelled. If more than one aggregation method is enabled, the aggregation value will be labelled with the aggregation method name.
If there are any grouping rules configured, the aggregation method will be evaluated for each group's rows and the resulting aggregation value will be displayed in the group's header.
